Billion Creation is more than just a streetwear shop. We’re a cultural purveyor; born, bred, and built on the sun-drenched sands of San Diego, California. As such, we’ve got our fingers on the pulse of the West Coast community. The dreamers, the designers, and the denizens who keep their eyes to the sky. That’s why we’ve got a pretty good understanding of the ideal headwear setup – most notably, New Era caps.
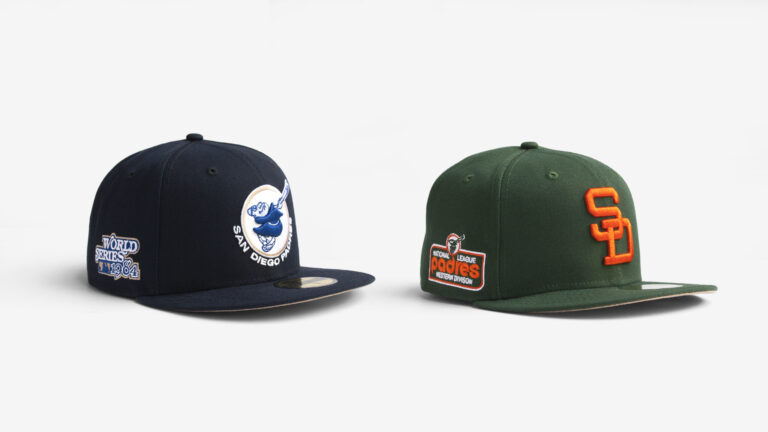
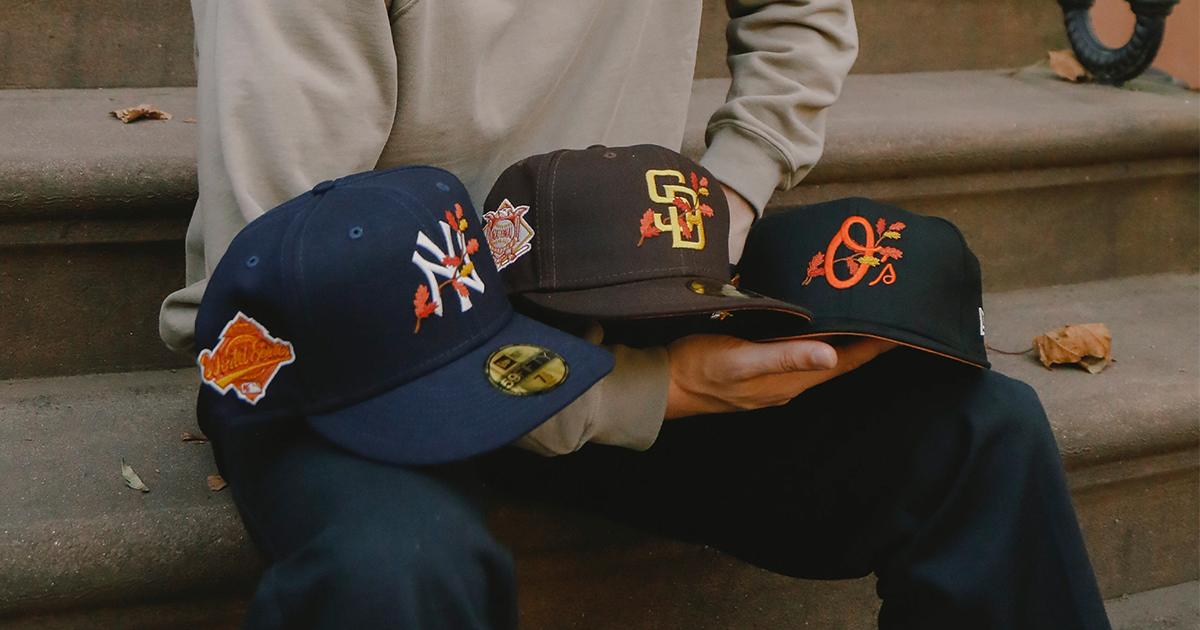
Throughout the years, we’ve worked hard to become a mainstay within the San Diego hat scene, providing our audience with an array of unique (and exclusive) caps from sports leagues like the MLB, NFL, NBA, and NHL. From there, we decided to expand into the realm of streetwear, adopting a handful of the genre’s most respected designers and brands into our ranks. From iconic skate companies like Vans, DGK, and Primitive, all the way to more acclaimed apparel companies (a la HUF, Brixton, Volcom, and Dickies), we’ve got it all. However, our love for hats perseveres.
That’s why we’ve decided to jot down a few of the best ways to break in your New Era cap – or any cap for that matter. Below, we’ll run through some of the most highly-referenced hat shaping tactics, while giving you some additional advice to make your new cap “all your own.” So, without further adieu, let’s clear up some of the confusion.
Cap Too Big? Too Small? We’ve Got You.
One of the most prominent issues you’ll run into when buying a new cap is whether or not the break-in process will work in your favor. The truth is, most people don’t even know where to begin when it comes to buying a hat that will conform to their head in the long run, making things even more difficult. Picking up the perfect headwear piece is kind of like building a house. First, you need to lay the correct foundation. From there, you can iterate to create your preferential space; whether that’s through the addition of personalized design, a tasteful addition, or something more intricate.
Now, let’s apply that to a New Era cap. First, you want to make sure that you’re buying a cap that’s the correct size for your head. In other words, you want to “lay your foundation.” We’re going to be real with you, when you first try on a cap, things shouldn’t feel all that comfortable. You may feel a tightness at the front of the crown (where the sweatband meets/sits on your forehead). This is due to the current dimensions of New Era’s 59Fifty fitted line. In the past, these caps were crafted differently. They once featured a more relaxed crown (especially in terms of the foremost panels of the hat), alongside a more relaxed brim layout, allowing them to form to your head more naturally. These days, however, the brand has enhanced the logo area of their caps, making them more rigid in the process. This, paired with the increasingly-flat brims that adorn 59Fifty and 9Fifty snapback variants, has made the “try on” process a bit more unintuitive than it was in the past.
Here are the things you should look for:
Worried whether or not the cap will fit correctly after you bend the brim? Is it putting unwarranted pressure on your head? Check to see if you fit a finger between the space where your temples and the cap’s fabric meet. If the answer is yes, it’s likely that the cap is too large. Conversely, if there’s no space between your temples and the cap’s fabric, you may want to move up a size. Of course, there’s always the chance that you could be one of the many individuals stuck between two of New Era’s most prominent sizes. If you find yourself in this (not so uncommon) predicament, there are ways to ensure that you can create the correct fit. We’ll touch on these tactics later on in our guide.
For now, you’ll want to go for a cap that’s a happy medium between the two aforementioned traits. Ensure that you’re not able to easily fit a finger between your temple and the cap’s fabric, while still shying away from a size that feels like it’s cutting off the circulation to your scalp. This way, you’ll be able to take advantage of stretching/shrinking.
Found Your Fit? Let’s Perfect It.
When it comes to “breaking in” a cap, everyone has their idea of what comfort should be. In order to avoid any future litigation and admonish ourselves of any and all responsibility, we’re going to drop some knowledge. Write this down.
Our definition of “comfort” might be different from yours. It might be different from your friend’s, your mother’s, or your brother’s. As always, there is no such thing as “perfect.” The break-in methods that we will reference below were sourced from respected individuals within the cap community, and feature information that was researched, referenced, and recommended by those individuals. These recommendations come from a place of experience. At the end of the day, it’s your choice whether or not you’d like to move forward with any proposed method.
To Bend, Or Not To Bend?
There’s an ongoing debate within the cap community regarding the “do’s” and “don’ts” of contemporary hat personalization. Personally, we think it’s all a load of s#%t. Whether you’re an impressionable individual, or you pay no mind to the murmurs of the masses, you might look to us to give you the down-low on what’s “in.” You’re not going to find that type of advice here. Instead, we think that both camps are entitled to their opinion.
However, since virtually every fitted (and snapback) cap arrives from the New Era factory with a semi-flat brim, we’re going to break down some of the best ways to bend your bill, should you feel the need.
If you read our above sections, you might recall that we said something along the lines of “build your own foundation.” If you skipped ahead, this was an analogy that we’d introduced to reference the importance of correct sizing. If you’ve acquired a cap that isn’t too big, or too small, this is the section where we’ll elaborate upon that.
From this point on, we’ll assume that your cap is the perfect middle ground. Because you’ve laid a great foundation for the fitment of your hat, you’ll be able to bend its brim without much worry. Traditionally, this will loosen the cap a bit, as the flat bill keeps the fabric of the cap (near your temple area) taut. Once you create an arch in the brim, this fabric relaxes, allowing the cap to take on a more subdued shape.
There are a handful of ways to curve the brim of your cap, but we’re going to reference two of the industry’s most tried and true methods.
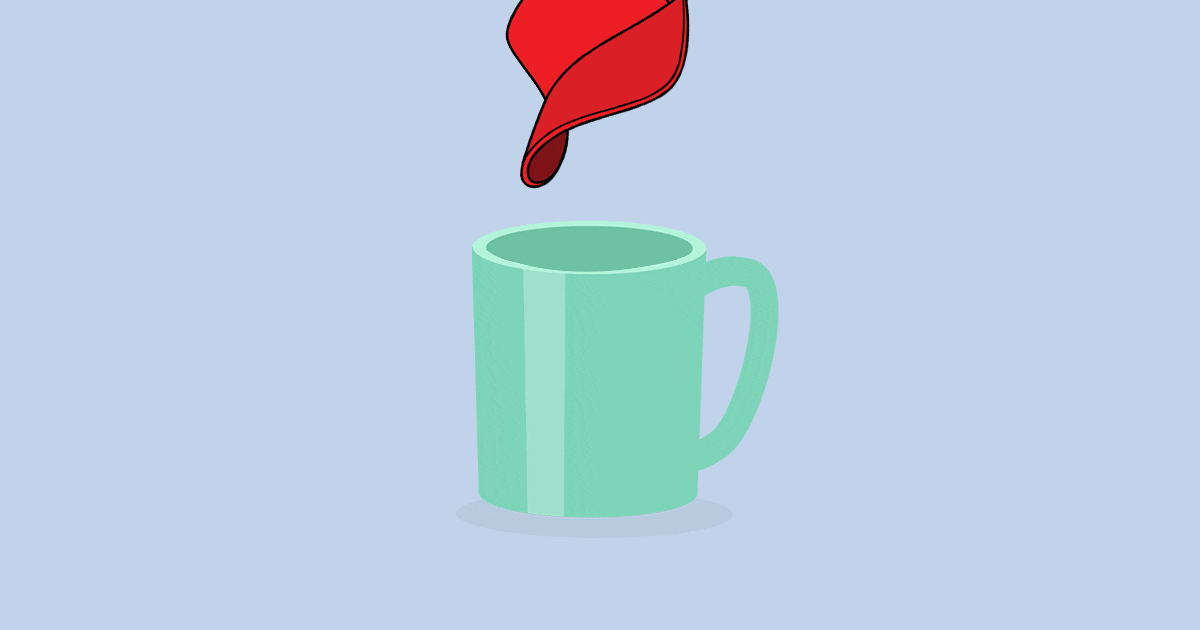
The Mug Method
It might sound weird, but mugs (as in, coffee cups) are actually one of the most preferable ways to add a perfect curve to your cap’s brim. It’s as easy as it sounds. Find a coffee mug or cup with a vertical interior, bend your hat’s bill enough for it to sit comfortably inside, and leave it overnight. When you wake up in the morning, you’ll have a perfectly-centered (and long-lasting) curve that’ll make less-versed cap aficionados jealous. Now, let’s move on to a method that’s a bit more involved.
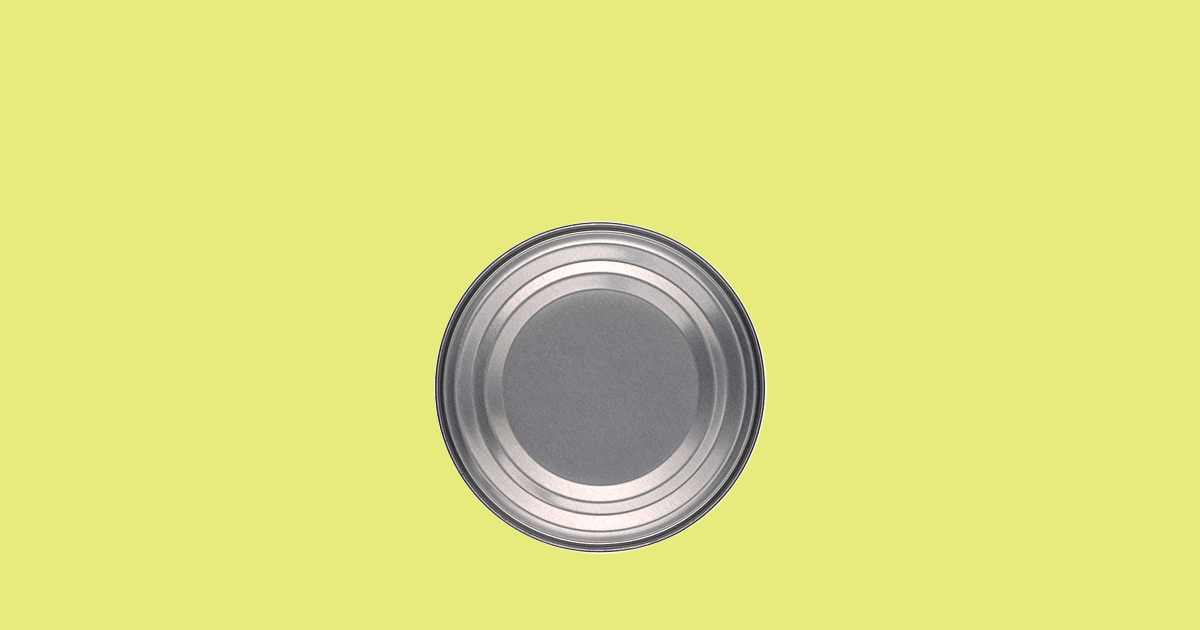
The Jar/Can Method
If you’ve been around hats for a decade or more, this method will bring back some memories. One of the most popular ways to bend a brim — utilizing a can of soup, or a cylindrical jar — has been recorded and archived since the beginning of cap-kind. For this method, you’ll need a perfectly round can or jar, as stated above. You’ll also want a good number of rubber bands, as these will help you to keep the hat’s brim in place without malformation. First, you’ll want to place the can/jar in the middle of the cap’s brim. From here, pinch the corners of the hat’s brim inward until they’ve formed a symmetrical arch. Now, grab your rubber bands and place them over the brim of the cap (and around the can). This way, you can let the cap sit overnight, allowing it to adopt its newfound curve without any additional tampering.
Now that we’ve solved the mystery of at-home cap curvature, let’s find out how to create the perfect fit.
Shrinking Or Expanding? It’s All The Same.
A lot of shrinking/expanding guides on the internet like to make things more complex than they need to be. To keep things short and simple, we’ll break it down for the layman.
All you need is warm/hot water.
“Wait, are you serious? That’s ALL it takes to stretch/shrink a cap?” That’s right. It doesn’t really matter how you acquire it or apply it – hot water is your friend in this situation.
For many, the easiest way to break in their cap can actually be found within the home. Who knew? The truth is, your perfect cap conformer is only steps away.
Grab your cap, head to the bathroom, and hop into the shower. You heard us right. Take a shower with your brand-new New Era cap, and make sure that the water temperature is moderately warm. To once again avoid any future litigation and admonish ourselves of any and all responsibility, DO NOT use any type of detergent, soap, or shampoo on your hat. In fact, don’t use any products at all while in the shower. Also, ensure that the brim of your cap is NOT comprised of cardboard. After all is said and done, remember: this is solely a warm-up for the fabrics of your cap.
If your hat is cotton or wool, the application of warm water and steam will cause the fabric of the hat to relax, making it more malleable. Once you’ve given it a good soak, allow the cap to dry while it remains on your head. You’ll want to keep the cap on until it’s completely dry, as this is the only way that the fabrics will maintain a specific shape/structure.
Feeling a little less adventurous?
Luckily, there’s another way to conform a cap to your head without standing around in the shower.
Wet the internal sweatband of the cap with a generous helping of warm water from your sink. If you need to shrink the hat down to size, hit the dampened sweatband with a few blasts of warm air from any drug-store hairdryer. You might have to repeat this a few times to get the desired fit. If you go too far, or if you want to stretch the cap (instead of shrinking it), you’ll take a page from our method mentioned above. Dampen the internal sweatband with some warm water and throw the cap on your head. It might seem a little tight at first, but power through the discomfort. Once the hat dries, you’ll find that the fabrics have relaxed/become more malleable.
And there you have it – everything you need to know to create the perfect-fitting headwear piece.
Remember, if you’re ever in a bind, we’re here to help! If you have any questions, concerns, or qualms when it comes to hat sizing, upkeep, or cleaning, we carry a wide range of accessories (and knowledge, to match).

![Introducing: Breezy Excursion [BEST]](https://www.billioncreation.com/wp-content/uploads/2013/11/BreezyBlogCover1-768x288.jpg)